Handling Unforeseen Price Increases

September 2020

by Mike Showalter

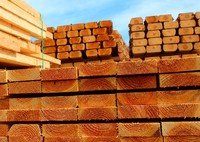
Builders and subcontractors, do your contracts between you and your clients clearly state how unforeseen increases in material prices will be handled?  According to an August 22, 2020 article by NAHB …”the recent spike in softwood lumber prices has caused the price of an average new single-family home to increase by $16,148 since April 17, according to NAHB standard estimates of lumber used to build the average home. Similarly, the market value of the average new multifamily home has increased by $6,107 over the same period due to the surge in lumber prices.”

This increase is calculated on the softwood lumber that goes into the average new home, such as any softwood used in structural framing (including beams, joists, headers, rafters and trusses), sheathing, flooring and underlayment, interior wall and ceiling finishing, cabinets, doors, windows, roofing, siding, soffit and fascia, and exterior features such as garages, porches, decks, railing, fences and landscape walls. 

CDR has long advocated careful consideration of updating construction contracts and subcontracts.  Builders and subcontractors need to be able to cover the costs of construction in order to derive their anticipated profit and overhead.  Construction clauses taking into consideration potential increases in material and labor costs are prudent.  Likewise in construction contracts between Builder and Client there should be clear language dealing with unanticipated changes in costs for materials, labor, and working conditions due to unforeseen events (e.g. COVID).

Who pays for the spike in lumber prices that occurred between April and August 2020, or COVID related costs since March 2020?  You want that answer to be in the contract and not determined through litigation.

Owners - Balancing Collaboration and Trust

November 2019

by Janet Showalter

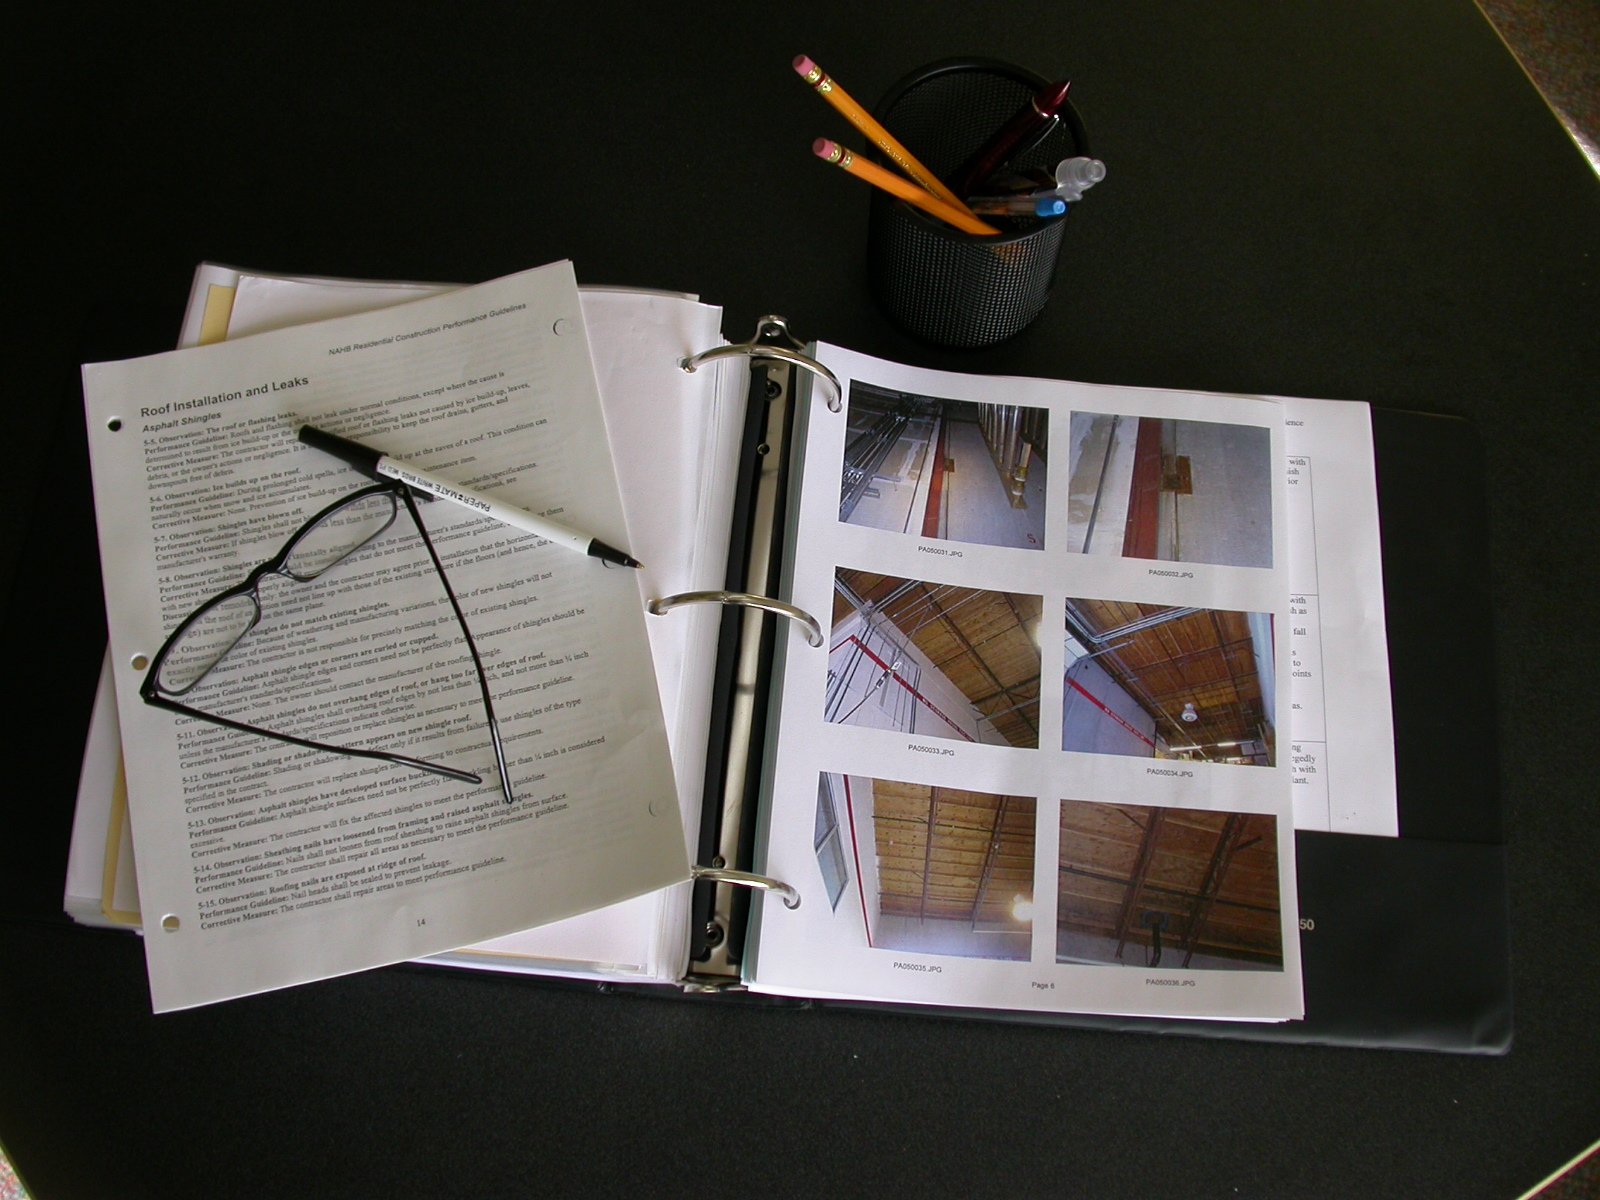
Even before a project begins, owners can be better prepared to stay on top of the details and decision-making by having a way to organize their ideas and records.  The designer, architect and contractor (the project “partners”) will need the owner’s cooperation in making decisions and choices in a timely manner, so being organized is key.  With a system in place, owners will be more confident that what they have conveyed to the partners will be properly addressed.  It is helpful to create a notebook to include clippings from magazines, newspapers and brochures to share design ideas with the partners.  Add sections to the notebook for: 1) signed contract that includes a projected weekly schedule, 2) invoices, 3) change orders, 4) paint color choices, 5) appliance choices, 6) plumbing fixtures, 7) bids, etc.

After work begins, owners should be very mindful about any changes that need to be made in the design, work and finishes.  Good records and communication will help avoid misunderstandings.  Other guidelines include the following:

  • When a cost and contract are proposed, review it with legal and building professionals before signing.

  • Obtain, review, modify and sign all change orders BEFORE the work on those changes begins.  Change orders can either cost more or provide a credit.  Keep copies of the signed change orders.

  • Monitor the project’s schedule and cash flow closely, keeping and organizing all invoices and supporting documentation. This keeps the partners accountable and the owner aware.

  • Keep a photographic record of the project (before, during and after).  Be sure to take distance and close-up photos.  Video is also helpful.

  • Keep a written log of conversations, decisions and daily job diary. Keep all correspondence including texts and phone messages.

  • Maintain open communication. Most disputes start with lack of communication.

  • If something is confusing, ask for clarification. Do not wait until it is too late to reconsider.

  • If satisfactory answers from the partners are not being provided, ask for objective counsel from experts. Surprises cost time and money.

  • Ensure final “punchlist” items are completed and lien waivers are in hand prior to making final payment.

  • Trust the partners to do their work.  Micro-managing is counterproductive to the end goal of having a harmonious and completed project.  Owners doing their part allows the partners to do theirs.

 For a fuller scope of collaborating on a project, go to the Consumer Guide in our website. 

Navigating Xactimate in an Insurance Loss

March 2019

by Alison Thilo

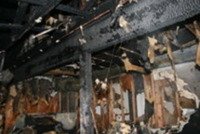
In the event of a loss to property related to fire, natural disaster, broken pipes, accidents or acts of God, owners turn to insurance carriers to recoup the value of the property.  Xactimate, used by adjusters and contractors nationwide, is a powerful estimating tool developed to price out every step of the claim process.  This bulletin will briefly explain the three primary types of estimates: content manipulation, mitigation of the damage and structural repairs.  Each category involves direct valuation of damaged property to be paid out by the insurer, thus it is beneficial to separate these three estimates. 

Content Manipulation

Xactimate allows the “contents subcontractor” to price out every aspect of manipulating, moving, cleaning and storing contents.  The contents subcontractor hired for this portion is often retained by the general contractor who will complete the structural repairs. However, if contents need to be manipulated as part of the emergency services mitigation, this service could be broken up.  In the event that contents end up in separate places, it is important for the insured to document and remain in communication with their contractors to reduce unnecessary storage costs. 

Mitigation

Emergency repairs are often considered the mitigation portion of a loss.  Owners should vet and research reputable emergency service contractors prior to any loss as this step is crucial to successful safety and structural repairs.  Mitigation contractors tend to communicate directly with the insurance company on the status of a dry out and will invoice the adjuster directly.  This portion of the loss often is the first aspect to be paid in full.  Xactimate can be used to price out special services such as industrial hygienists, asbestos testing, and mold remediation.  However, in an emergency situation these tests are conducted after the cause of loss is controlled.  Then the testing occurs, possible mitigation protocols are outlined (for example, if asbestos is found in wet drywall, the hygienist will outline a mitigation protocol for safe removal), and completed mitigation follows.

Structural Repairs

The structural repairs may begin once all mitigation and protocols are complete.  The owner should obtain a qualified, experienced restoration contractor to perform these services.  Owners have the opportunity to choose any licensed general contractor they prefer.  Hidden damage often can be found as structural repairs commence so it is highly important for a contractor to stop and document each step for transparency and to adjust the overall scope of repairs with the insurance adjuster.

Contractors who utilize Xactimate for their estimating purposes will have more success communicating, documenting and working with an insurance adjuster to complete the project.  Consider becoming familiar with Xactimate if you are involved in restoration work.

Fluid Applied Coating Preparation

 July 2018

by Bryce Given

Coatings are used for moisture control and as bonding agents and weatherproofing on surfaces in new building construction and renovations.  Examples of uses include decks, balconies, garage floors, roofing, above grade wall, below grade wall, and under interior floor coverings.  Frequently coatings are used to prepare surfaces for finish surfaces or layers of moisture control. Surfaces to receive coatings are usually wood sheathing such as plywood or similar, concrete, metal panels or sheets, or gypsum board.

Common to most coatings is proper preparation of the surface of the substrate.  Proper surface preparation supports good coating adhesion, function, performance and durability.  Each manufacturer may have different recommendations and requirements for surface preparation.  Three key factors common to most installations are a clean, dry and debris-free surface.  Clean means no contaminants, oils, greases, chemicals or unadhered paints remaining on the surface.  Dry means usually less than 5 percent moisture content before application of the coating, but this can vary by manufacturer and product.  Debris-free means that foreign or loose materials must be removed.  In new construction loose materials are often construction debris, dirt, dust and original systems. For an existing building renovation, debris is usually old building construction remnants, paints and adhesives.  

Various methods of preparing surfaces can include: cleaning with solvents, hand or pressure washing, sweeping, mechanical grinding to achieve an acceptable substrate, and air pressure washing such as from a high pressure air hose or media blaster.  Generally, pressure washing is not usually recommended because this adds water to the surface and substrate.  Building in the Pacific NW often occurs during rainy or freezing weather, causing substrates to become saturated or frozen, further requiring extensive drying or warming to achieve coating-ready surfaces.  

Coating failures occur when there is a lack of bond or adhesion to the surface due to an unprepared substrate, poor or incorrect mixing of coating materials, application outside recommended temperature range, or too high of moisture in, on or below the substrate. 

After preparing surfaces for coatings, the surface should be tested for its readiness to receive the coating. Sample area applications of the coating may be able to be tested for adhesion  by means of pull tests or other methods, and the results analyzed and confirmed for acceptance by the manufacturers and the application contractor.

Flat Roof Membranes

March 2018

by Bryce Given

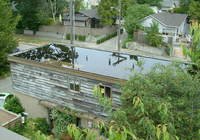
In the Pacific NW, there are many different types of roofing materials that can be applied onto a flat roof of a home or commercial building.  These include metal, silicone spray foam, EPDM rubber, single ply, built up, and bitumen based.  Bitumen is asphalt or coal tar based material.  Single ply, built up roofing (BUR) and torch down roofing are the most common types we see installed in the Pacific NW.  So what are the general differences between the common roofing types? 

Single Ply Membrane Roofing:

There are three kinds of single ply roofing:  1) polyvinyl chloride (PVC), 2) thermoplastic polyolefin (TPO) and 3) ethylene propylene diene monomer (EPDM).  Single ply membranes come in thicknesses between 40 mil and 80 mil, depending on manufacturer and type.  Single ply can be mechanically or adhesively attached to the underlying substrates.  PVC and TPO seams and laps are hot air welded or chemically bonded.  

  • PVC and TPO membranes– are installed in rows of 6’ or wider depending on the manufacturer’s material widths.  Materials are durable, provide energy saving benefits on cooling days due to their reflectance abilities and are repairable without open flames.  Since the membrane is only a single layer, damage to the roofing or a poor weld may readily allow water under the roofing. 

Installation costs vary by site conditions, roofing contractor, manufacturer and material type and thickness.  Generally, a square foot allowance cost for labor and material may be $9 to $10 for PVC’s and $7 to $8 for TPO’s. 

  • EPDM is a durable synthetic rubber roofing membrane derived primarily from oil and natural gas. EPDM is available in black and white and can be purchased in widths of 7.5 to 50 feet.  EPDM can be installed using roofing adhesive, mechanically fastened or ballasted with gravel or rocks to hold it into place on the rooftop.  Seams are sealed with liquid adhesive or formulated tapes. 

Installation costs are generally $7 to $8 per square foot.

  • Built Up Roofing - BUR – is durable and can take abuse from heavy foot traffic.  The system is built up from multiple layers of ply sheets using hot asphalt to bond each layer together.  Over the top layer a reflective coating can be applied for energy conservation by reflecting the sun’s rays.  A multiple layered roofing system can offer peace of mind due to its many layers of roofing.  There is redundancy in layering for protection against punctures from falling branches, impacts or sharp objects and failed seams or laps. 

Installation costs are generally $7 to $8 per square foot.

Torched Down systems 

  • These systems consist of two to three layers of modified bitumen sheets.  Each layer is flame torched down to the surface below.  Like BUR, the torch work must be performed by a skilled roofer familiar with proper melting of the bitumen within the sheet layers to achieve proper melt, flow and adhesion to create a single system.  The multiple layers create a durable system resistant to punctures and failures.  A granulated cap sheet can be applied to add durability and protection of the underlying layers and from solar damage.  Rejuvenating the roofing can be accomplished by adding another layer of torch down roofing over the existing system.

Installation costs are about $6 to $8 per square foot.

Regardless of the type of roofing or extent of the project, CDR recommends that two or more bids be obtained for the work and contracts be in writing and reviewed by an attorney before signing.  Additionally, CDR recommends that manufacturer and installation warranties be researched and inspection protocols be followed during and after installation to maximize the life and warranty of the roof system.